Chapter 16 Using the Label Designer
Breedbase provides an interactive design tool for creating custom labels. To access the label design tool, click on “Label Designer” in the “Manage” menu. The following sections explain your many options as you advance through each step of the design workflow.
16.1 Select a Data Source
The first step is to select a data source. To do so, you may directly select a specific data source from the “Data Source” dropdown menu (either a field trial, genotyping trial, or crossing trial) to populate your labels with the trial design information. Alternately, from the same dropdown menu, you may select a list to populate your labels with the list contents. Prior to making a selection from the “Data Source” dropdown menu, you may also filter the data sources by using the “Datatype” dropdown menu. You must then choose a level (plot, plant, etc.) before proceeding, using the “Label for Every” dropdown menu. To generate plot-level labels for more than one trial at once, select a list of trials as the source and plot as the level. Once you have made your selections, click the ‘Next’ button to move to the next step in the workflow.

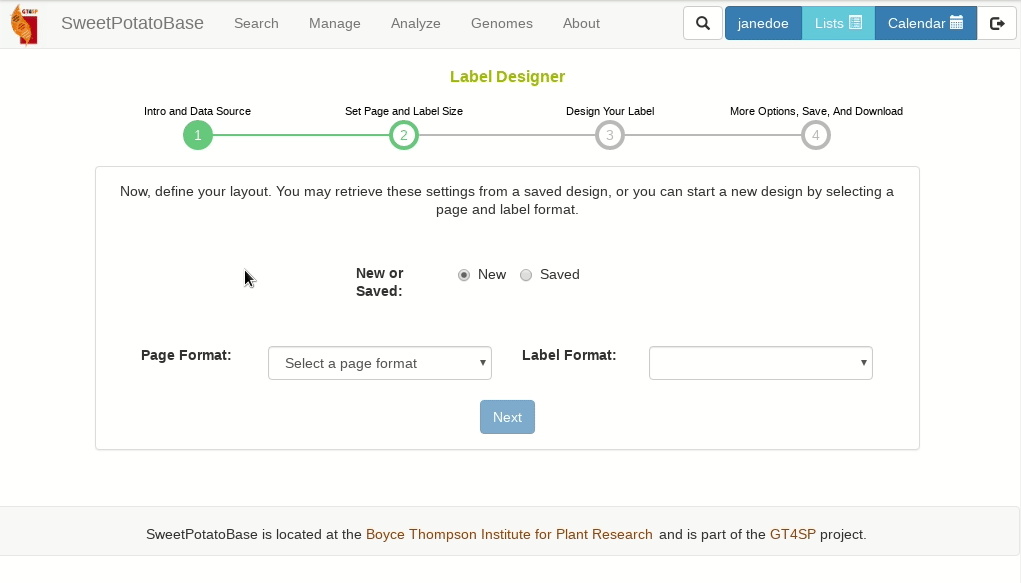
16.2 Set Page and Label Size
After selecting the data source, you must choose whether to create a new design or load a saved design. If you choose the “New” selector, you will be prompted to select a page size and label size. If you do not see your page size or label size as an option, then select “Custom” from the relevant dropdown menu and enter your desired dimensions in pixels (each pixel is 1/72nd of an inch). If you choose the “Saved” selector, you will be prompted to select a saved design. After selecting a saved design, you will be taken directly to the design step with the saved design elements pre-loaded.
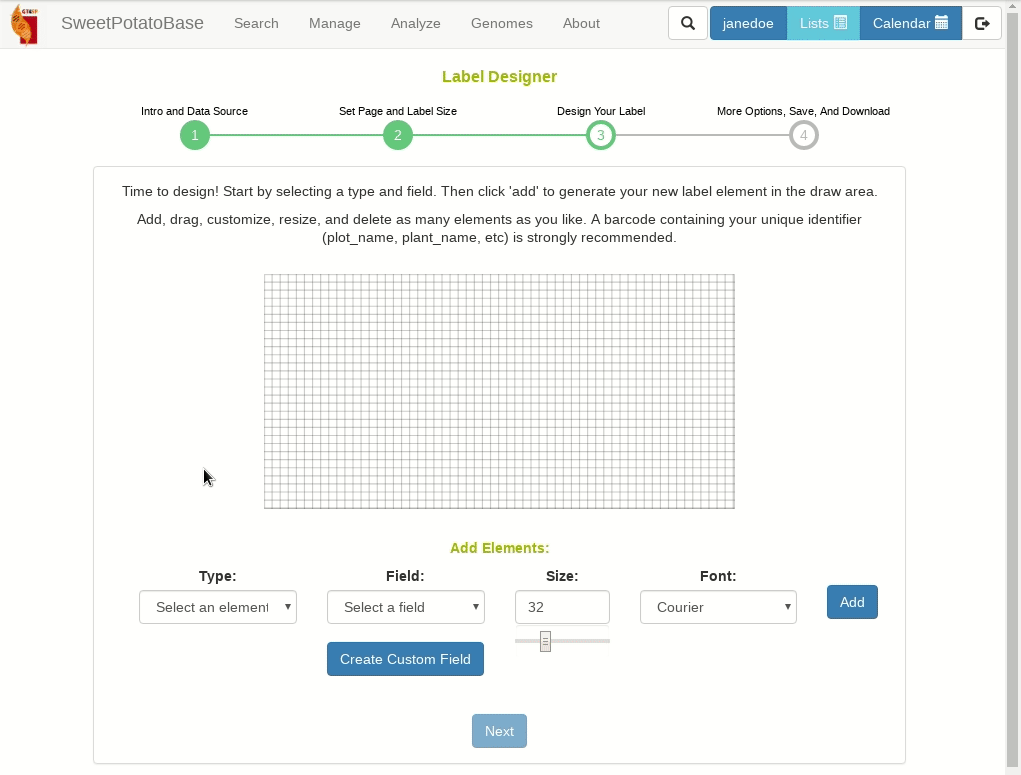
16.3 Design Your Label
Having set the page and label formats, you will be presented with a label canvas where you can begin adding elements to your label. Select a type, field, size, and font, then click “Add”. You can add text to an existing field or create a completely custom field by clicking “Create Custom Field”. Once added, you can drag and drop elements, or you can delete them by clicking on the red box in their upper left corners. Barcodes can also be resized by dragging the green box in their lower right corners. If you are creating labels for a trial, it is highly recommended that you include a barcode encoding your plot, plant, or tissue sample names. These are the unique identifiers that will need to be included with any phenotypic or genotypic measurements loaded into the database. When you are satisfied with your label design, click “Next”.
16.4 Adjust Formatting, Save, and Download
In the last step of the workflow, you can tweak your formatting and page layout, save your design, or download your labels.
The “Additional Settings” dialog will allow you to adjust the page margins and margins between labels. The units are pixels (each pixel is 1/72nd of an inch). It is not recommended that you change these settings until you have already printed a test page.
You can also set the number of copies per label, filter by replicate, or download only the first page for test purposes.
To save your design, type a unique name in the text field and click “Save”. This will save your design to your list manager, where you can make it public in order to share it with others.
Finally, if you are ready, click download to generate and download your labels!
